ダウンロード Leonardo - Photo Layer Editor
投稿者 Pankaj Goswami
- カテゴリ: Photo & Video
- 現在のバージョン: 2.7.1
- ファイルサイズ: 57.57 MB
- 互換性: iOSが必要です Windows 11, Windows 10/8/7/Vista
投稿者 Pankaj Goswami

APK -PC用 - ダウンロード
| ダウンロード | 開発者 | 評価 | ファイルサイズ (MB) |
|---|---|---|---|
| ダウンロード Apk | WandApps | 4170 | 6.6M |
OK。 最初のものが最初に。 お使いのコンピュータでアプリケーションを使用するには、まずMacストアまたはWindows AppStoreにアクセスし、Bluestacksアプリまたは Nox App Web上のチュートリアルのほとんどはBluestacksアプリを推奨しています。あなたのコンピュータでBluestacksアプリケーションの使用に問題がある場合は、簡単にソリューションをオンラインで見つける可能性が高くなるため、推奨するように誘惑されるかもしれません。 Bluestacks PcまたはMacソフトウェアは、 ここ でダウンロードできます。.
あなたが選択したエミュレータをダウンロードしたので、コンピュータのダウンロードフォルダに移動して、エミュレータまたはBluestacksアプリケーションを探します。
見つかったら、クリックしてアプリケーションまたはexeをPCまたはMacコンピュータにインストールします。
[次へ]をクリックして、ライセンス契約に同意します。
アプリケーションを正しくインストールするには、画面の指示に従ってください。
上記を正しく行うと、エミュレータアプリケーションが正常にインストールされます。
これで、インストールしたエミュレータアプリケーションを開き、検索バーを探します。 一度それを見つけたら、 Leonardo - Photo Layer Editor を検索バーに入力し、[検索]を押します。 クリック Leonardo - Photo Layer Editorアプリケーションアイコン。 のウィンドウ。 Leonardo - Photo Layer Editor - Playストアまたはアプリストアのエミュレータアプリケーションにストアが表示されます。 Installボタンを押して、iPhoneまたはAndroidデバイスのように、アプリケーションのダウンロードが開始されます。 今私達はすべて終わった。
「すべてのアプリ」というアイコンが表示されます。
をクリックすると、インストールされているすべてのアプリケーションを含むページが表示されます。
あなたは アイコン。 それをクリックし、アプリケーションの使用を開始します。
こんにちは。 Macユーザー!
使用する手順 Leonardo - Photo Layer Editor - Macの場合は、上記のWindows OSのものとまったく同じです。 Nox Application Emulator をインストールするだけです。 あなたのMacintosh上のBluestack。 ここ で入手できます。
Leonardo - Photo Layer Editor iTunes上で
| ダウンロード | 開発者 | 評価 | スコア | 現在のバージョン | アダルトランキング |
|---|---|---|---|---|---|
| ¥610 iTunes上で | Pankaj Goswami | 6 | 4.5 | 2.7.1 | 4+ |
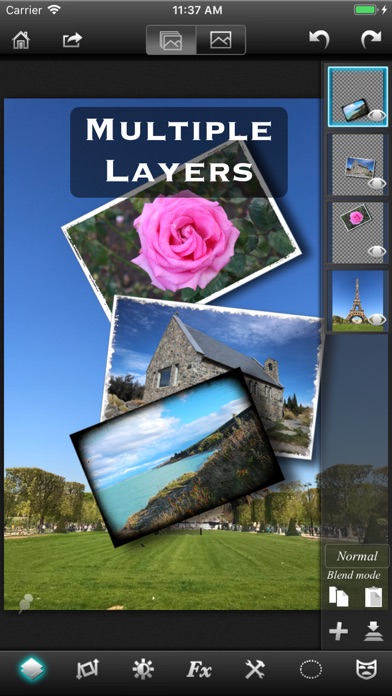
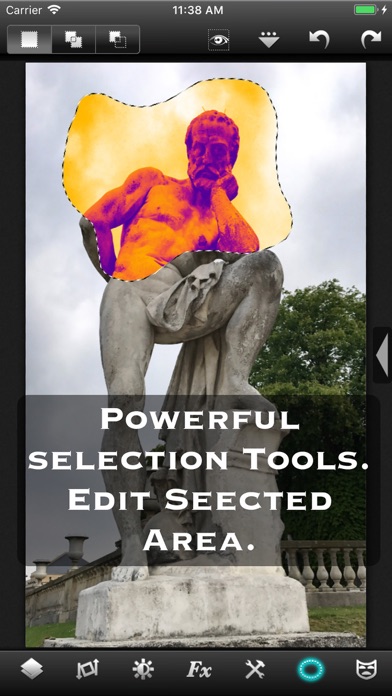
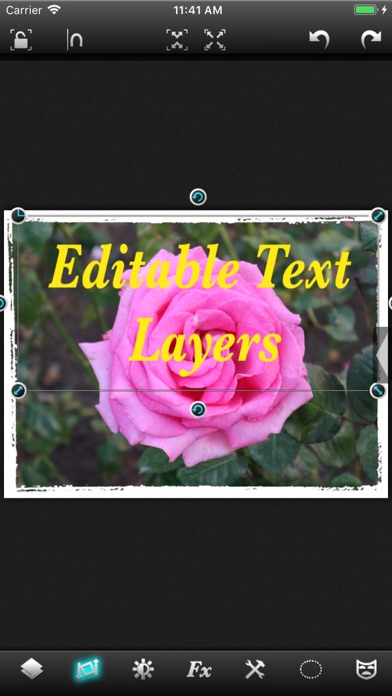
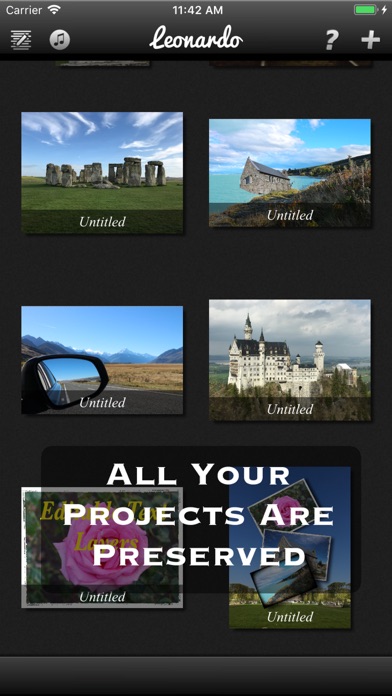
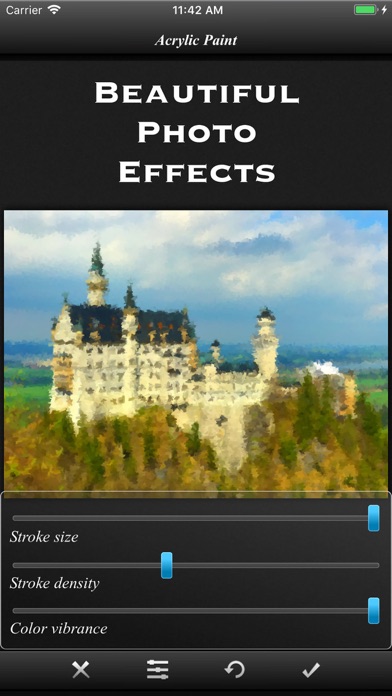
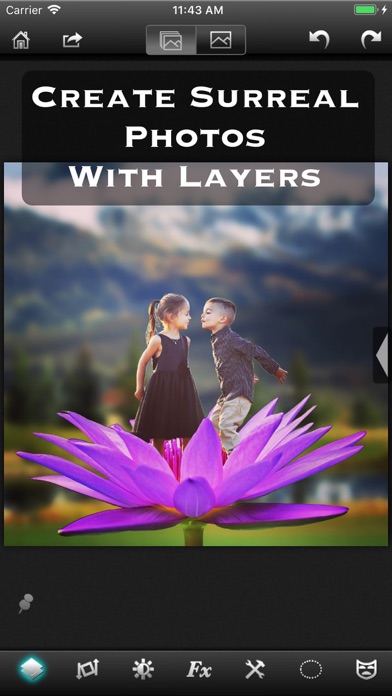
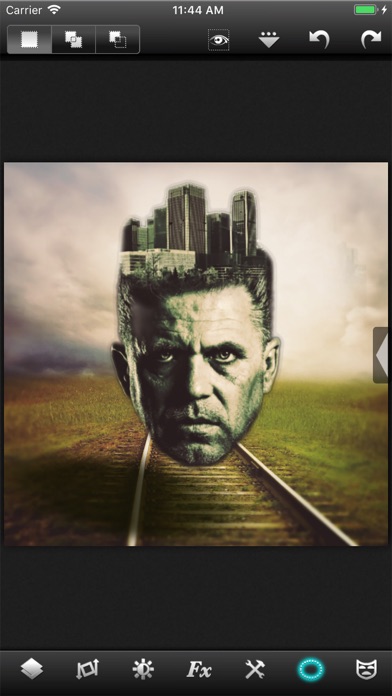
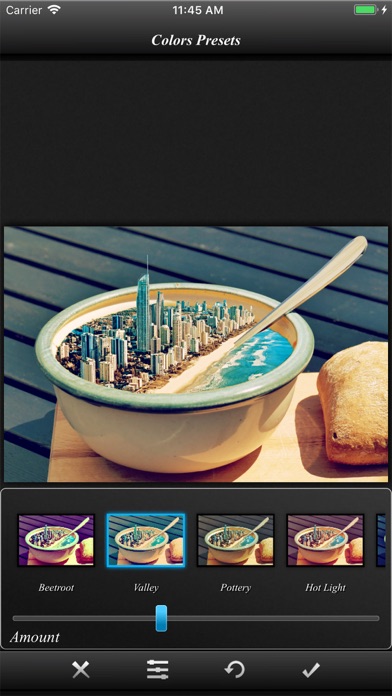
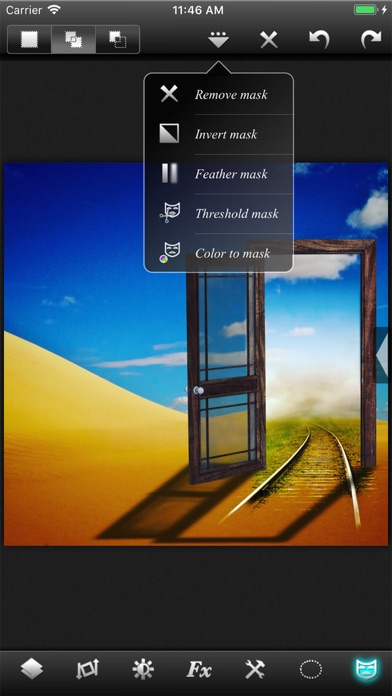
Universal Photo Editor with support for Layers, Selection, Masks and of course filters, effects and other tools. An editor so powerful that you could do almost anything that you thought was possible only on a desktop. √ True layer support, just like photo editing on desktop. √ Selection. You can select an area and work with filters and effects only on that area. √ Layers can be masked. And not just with brush, you get a whole set of mask editing tool. √ Layers support all that a true layer app should. Blending, Opacity, Transform, Duplicate, Merge and flatten. √ The app is so fast that most of the operations are real time. You don't have to wait while adjusting the sliders. √ Handles Exif, IPTC, Geotag etc. You can even edit Geotag and IPTC. √ Exports PSD with layers. And of course exports JPEG and PNG too. √ Copy/Paste with selections and masks. √ Undo/Redo. √ Powerful filters you will hardly find on many other apps. √ 25 preset photo effects. √ Tools like Crop, Straighten, Clone stamp, color gradient, paint brush, red eye brush and add text etc. √ You can save your projects with all layers and selections preserved and work on them back and forth. √ 18 video tutorials. √ Resolution up to 4096x4096 on iPad3 and above and on iPhone max resolution is equal to the resolution of the built-in camera. And yes, it runs on both iPhone and iPad. Note that reduce noise filter is available only on iPhone 5 and iPad3 and above. To get maximum resolution you will need to... 1. Go to home screen. 2. Press on the "?" button. 3. Under resolution, select the max.